Congratulations on your new bicycle purchase!
Assembling your bike may seem daunting at first, but with careful guidance and attention to safety, you'll be riding in no time. Follow this step-by-step guide to ensure a smooth and safe assembly process.
Get Started with Assembling
Follow our expert guide to assemble your new bike
Preparation
Before you begin assembling your bicycle, gather the necessary tools and equipment:
Unboxing and Inspection
Carefully unpack the bicycle and its components. Avoid Sharp knife for unboxing and ensure to wear gloves if possible.
Wheel Installation
Insert the front wheel into the fork dropouts, ensuring it's fully seated. Tighten the quick-release skewer or axle nuts.
Handle Bar Installation
Attach the handlebars to the stem, aligning them with the front wheel. Tighten the handlebar clamp bolts evenly to secure the handlebars in place.
Component Installation
Install the seatpost into the seat tube, adjusting the height to your preference and tightening the seat clamp. Attach the saddle to the seatpost, ensuring it's level and securely tightened. Install the pedals, remembering that the right pedal (R) screws in clockwise and the left pedal (L) screws in counterclockwise. Install any additional components such as fenders, racks, or accessories according to your Preferred position.
Safety Checks
Double-check all bolts and fasteners to ensure they are properly tightened. Inspect the brakes, ensuring they are adjusted and aligned correctly. Check the tire pressure using a bicycle pump, inflating them by pressing the tyre. (Using Machine PSI values is not Recommended as it might not be accurate at shops). Conduct a final visual inspection of the entire bicycle to ensure everything is fitted.
Safety Measures
Wear appropriate safety gear throughout the assembly process, including gloves and protective eyewear. Take breaks as needed to prevent fatigue and maintain focus. If you encounter any difficulties or uncertainties during assembly, check with the video tutorials provided below.
Conclusion
By following these step-by-step instructions and prioritizing safety measures, you can confidently assemble your bicycle purchased online. Remember to take your time, double-check your work, and enjoy the satisfaction of riding your newly assembled bike!
Electrical Component Installation
Proper installation of electrical components is crucial for your electric cycle's performance and safety.
Battery Installation
Before connecting, ensure the system is powered off. Place the Battery in position and make sure the battery is seated firmly with proper polarity. Secure the battery in its mount and engage the locking mechanism.
Display Unit Installation
Mount the display on the handlebar stem or designated mount. Route the cable along the handlebar and frame, connecting to the controller. Adjust the angle for optimal visibility and secure with provided screws.
Motor Connection
For hub motors, carefully check the motor's polarity and make sure it's facing the correct direction.
Wiring Harness Connection
Don't interchange the wires or connect wrong wires as it may cause damage to your electric cycle. Route wires neatly along the frame, avoiding pinch points. Use zip ties to secure loose wires and ensure no connections are under tension.
Electrical Safety and Testing
Follow these safety protocols and testing procedures to ensure your electric cycle operates correctly.
Pre-Assembly Safety
- •Always disconnect the battery before making connections
- •Work in a dry, well-lit area away from water sources
- •Wear safety glasses when working with electrical components
- •Never short circuit battery terminals
First Power-Up Procedure
- •Double-check all connections before connecting the battery
- •Turn on the system and verify the display powers up correctly
- •Test the brake cut-off function by squeezing brakes while accelerating
- •Verify all lights and indicators function properly
Troubleshooting Common Issues
- •If the motor doesn't respond, check brake sensors and connections
- •For error codes on display, refer to the user manual
- •If the battery drains quickly, check for parasitic loads
- •Verify all connectors are fully seated and locked
Battery Charging Instructions
Torque Specifications and Safety Standards
Proper torque values and safety standards ensure your electric cycle's integrity and your safety.
Torque Specifications Chart
| Component | Torque (Nm) |
|---|---|
| Wheel Axle Nuts | 20-25 |
| Handlebar Clamp | 6-8 |
| Stem Bolts | 5-8 |
| Seatpost Clamp | 10-15 |
| Pedal Installation | 15-20 |
| Brake Mount Bolts | 8-10 |
| Motor Mount Bolts | 15-20 |
Safety Critical Checks
- ✓Double-check all electrical connections before power on
- ✓Ensure all bolts are tightened to specified torque values
- ✓Test all lights and Horn before riding
Professional Inspection Points
- •Annual professional safety inspection recommended
- •Seek professional help for complex electrical issues
- •Have torque values verified by a professional
- •Professional certification may be required in some regions
Post-Assembly Testing and Break-in
Thoroughly test your electric cycle and follow proper break-in procedures for optimal performance.
Systematic Testing Sequence
Initial Ride Procedures
- •Wear appropriate safety gear (helmet, gloves)
- •Start with low power settings for first rides
- •Avoid maximum speeds during break-in period
- •Stay in familiar, safe areas for initial testing
Break-in Period Guidelines
- •First 50km: Avoid continuous high-power usage
- •Re-check critical bolt torques after first 20km
Maintenance Schedule
Legal and Compliance Information
Understand the legal requirements and safety standards for electric cycles in India.
Indian Regulations
- •Speed limit: 25 km/h for pedal-assist mode
- •No license required for riders 14 years and older
- •No registration, tax, or insurance required for compliant e-bikes
- •Must have functional pedals for propulsion
Usage Guidelines
- •Follow local traffic rules and speed limits
- •Wear a helmet for safety (recommended by experts)
- •Check regional variations in e-bike laws
- •Carry proof of purchase and warranty documentation
Related Videos
Recommended Accessories

Premium Seat
Enjoy Comfortable Bicycle Riding with Premium Seat
₹ 790

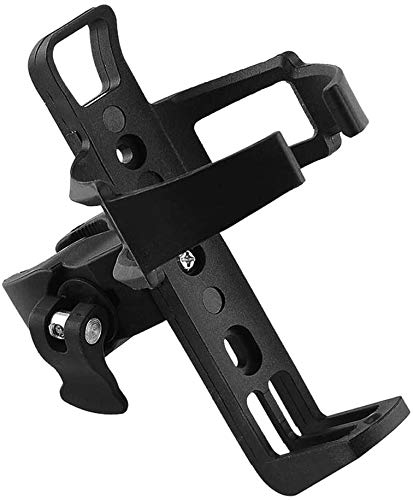
Bottle Holder
Keep Your Bottle Safe and Handy with Bottle Holder
₹ 390

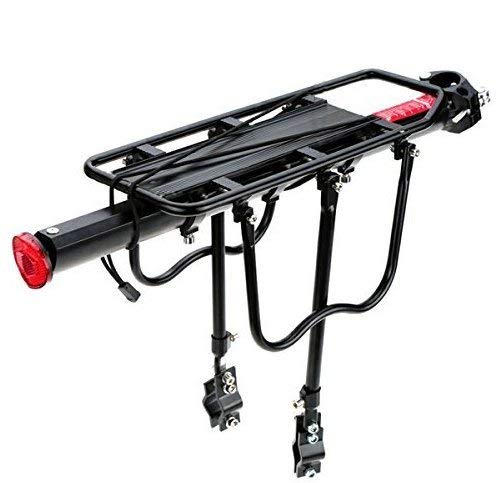
Alloy Carrier
An Adjustable Bicycle Luggage Carrier